Common Mistakes to Avoid When Painting uPVC Windows & Doors
Posted:
August 17, 2023
Categories:
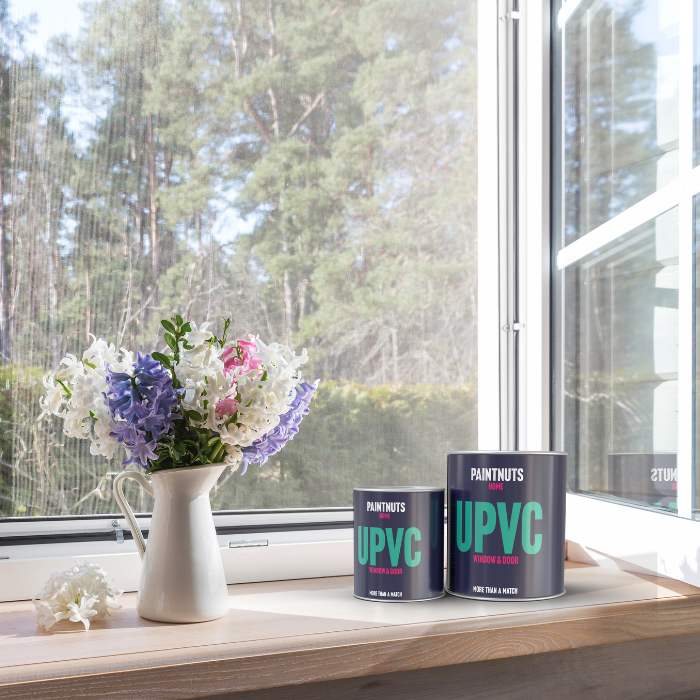
Painting uPVC


Related Products
-
 PaintNuts uPVC Paint - Steel BlueSelect product to see price £14.99
 -
 PaintNuts uPVC Paint - Ruby RedSelect product to see price £14.99
 -
 PaintNuts uPVC Paint - Anthracite GreySelect product to see price £14.99
 -
 PaintNuts uPVC Paint - Fir GreenSelect product to see price £14.99
 -
 PaintNuts uPVC Paint - Agate GreySelect product to see price £14.99
Recent Posts


